Pull-in-place pipelining is a highly effective and widely adopted method for rehabilitating deteriorated or damaged pipelines without the need for extensive excavation and replacement. It is a trenchless technology that offers significant cost savings, minimizes disruption to the surrounding environment, and ensures a rapid and efficient restoration of pipeline functionality. Different manufacturers may have varying specific installation procedures, but the fundamental principles and steps involved in pull-in-place pipelining remain consistent across the industry. In this article, we will delve into the intricacies of pull-in-place pipelining methods, exploring the techniques, equipment, and considerations involved in this innovative pipeline rehabilitation process.
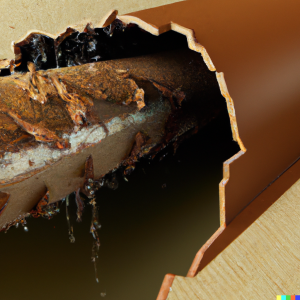
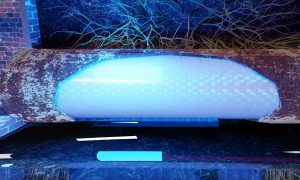
Pull-in-place pipelining, also known as cured-in-place pipe (CIPP) lining, involves installing a new pipe within the existing damaged pipeline by using a flexible liner impregnated with a resinous material. The liner is inserted into the pipeline and then inflated or pulled into place, conforming to the shape of the existing pipe. Once in position, the resin is cured, creating a structurally sound and corrosion-resistant pipe within the original infrastructure.
The full process of pull-in-place pipelining
The process of pull-in-place pipelining can be divided into several key stages, including preparation, cleaning, liner installation, curing, and final inspection. While the overall procedure is consistent, specific details and equipment requirements may vary depending on the manufacturer and project specifications. It is crucial to consult the manufacturer’s guidelines and adhere to the provided instructions for a successful installation.
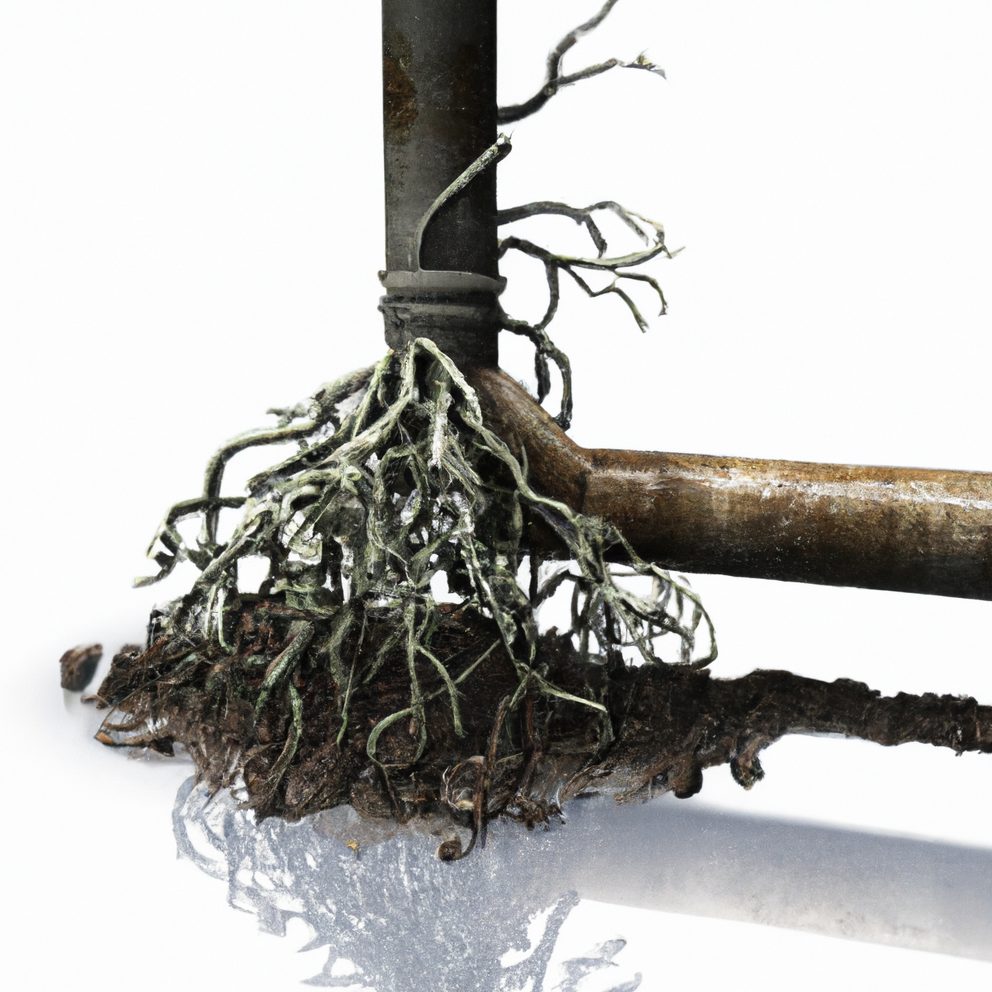
Preparation is an essential initial step in pull-in-place pipelining. The pipeline is thoroughly inspected using CCTV cameras or other inspection methods to assess its condition and identify any potential issues that may affect the rehabilitation process. This evaluation helps determine the suitability of pull-in-place pipelining and provides valuable information for planning and executing the project.
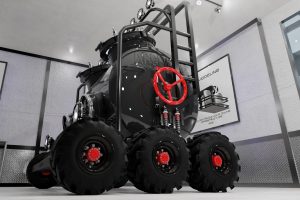
Cleaning the pipeline is crucial to ensure optimal adhesion of the liner and resin. Various cleaning techniques may be employed, including mechanical cleaning with brushes, water jetting, or abrasive cleaning methods. The choice of cleaning method depends on the pipeline material, condition, and the type of debris or obstructions present.
Once the pipeline is cleaned, the liner is prepared for installation. The flexible liner, typically made of materials such as polyester, fiberglass, or felt, is impregnated with a resinous material that will harden and create a new pipe structure. The liner is carefully measured and cut to the appropriate length, considering the dimensions and configuration of the existing pipeline.
The liner is then saturated with the resin, either by pulling it through a resin bath or by using an impregnation machine. The resin is chosen based on factors such as the diameter of the pipeline, expected loads, and chemical resistance requirements. Manufacturers may have specific recommendations regarding resin selection to ensure compatibility and optimal performance.
Once the liner is saturated with resin, it is ready for installation. A pulling head or inversion drum is attached to the leading end of the liner, which will facilitate the insertion process. The pulling head provides stability and control during installation, helping guide the liner smoothly through the pipeline.
Depending on the specific manufacturer and project requirements, the liner may be installed using either an inversion method or a winching method. In the inversion method, the liner is turned inside out and filled with air or water pressure, causing it to expand and move through the pipeline. This method is often used for smaller-diameter pipes or shorter sections of larger pipes.
In the winching method, the liner is pulled into place using winches or similar equipment. This method is typically employed for larger diameter pipes or longer sections where the inversion method may not be practical. Winches are strategically positioned at predetermined access points along the pipeline, and the liner is incrementally pulled through the pipeline until it reaches the desired location.
During the installation process, it is crucial to maintain tension and control over the liner to ensure proper alignment and minimize wrinkles or folds. The pulling speed and force are carefully controlled to achieve the desired positioning and avoid damage to the liner or the existing pipe.
Once the liner is successfully installed, the curing process begins. The resin is activated through various methods such as hot water, steam, or ultraviolet light. The curing time depends on the type of resin used, ambient conditions, and project specifications. It is essential to follow the manufacturer’s guidelines regarding curing time and temperature to achieve the desired structural integrity and chemical resistance of the new pipe.
Final Inspection
After the resin is fully cured, the pipeline is subjected to a final inspection to verify the quality of the installation. CCTV cameras or other inspection techniques are employed to assess the liner’s adhesion, integrity, and the overall performance of the newly rehabilitated pipeline. Any necessary adjustments or repairs can be made at this stage to ensure compliance with project requirements.
It is important to note that different manufacturers may have their own specific installation procedures for pull-in-place pipelining. While the fundamental principles remain the same, variations in equipment, resin formulations, curing methods, and quality control processes can exist. Therefore, it is crucial to consult the manufacturer’s guidelines and follow the recommended installation procedures to achieve the best results.
In conclusion, pull-in-place pipelining is a highly effective method for rehabilitating deteriorated pipelines without extensive excavation and replacement. It offers significant advantages in terms of cost savings, reduced environmental impact, and efficient restoration of pipeline functionality. While different manufacturers may have different specific installation procedures, the overall steps involved in pull-in-place pipelining include preparation, cleaning, liner installation, curing, and final inspection. By following the manufacturer’s guidelines and adhering to best practices, pull-in-place pipelining can provide a reliable and long-lasting solution for rehabilitating pipelines and ensuring the smooth operation of critical infrastructure.

