In the realm of pipeline construction, continuous inversion pipelining methods have emerged as a revolutionary technique. This approach has gained traction due to its efficiency and cost-effectiveness in installing underground pipelines. By utilizing the principles of inversion and gravity, continuous inversion pipelining enables the seamless installation of various types of pipelines, including sewer lines, water mains, and gas conduits. While different manufacturers may have specific installation procedures, this article aims to provide a comprehensive overview of how continuous inversion pipelining methods are typically performed.
Understanding Continuous Inversion Pipelining
Continuous inversion pipelining involves a process wherein a flexible liner, typically made of high-density polyethylene (HDPE) or polyvinyl chloride (PVC), is inverted into an existing pipe. The inversion process relies on the controlled flow of a liquid medium, such as water or air, to turn the liner inside out. This method ensures that the liner conforms to the shape and size of the host pipe, effectively creating a new pipe within the old one.
The process of continuous inversion pipelining offers several advantages over traditional open-cut or trenchless methods. Firstly, it minimizes disruption to the surrounding environment, as excavation is significantly reduced. This aspect is particularly valuable in urban areas, where minimizing surface disruption is essential. Additionally, continuous inversion pipelining allows for the installation of pipelines over long distances, enabling a more efficient and streamlined construction process.
Equipment and Materials Required
To perform continuous inversion pipelining, various equipment and materials are necessary. While the specific requirements may vary depending on the manufacturer and project specifications, the following are commonly used:
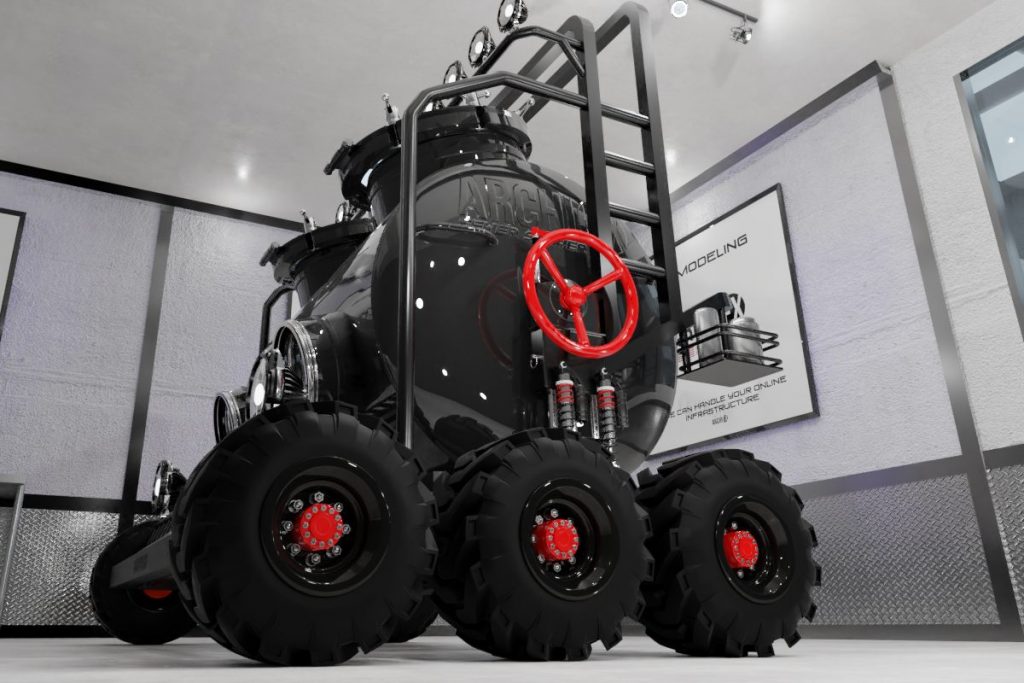
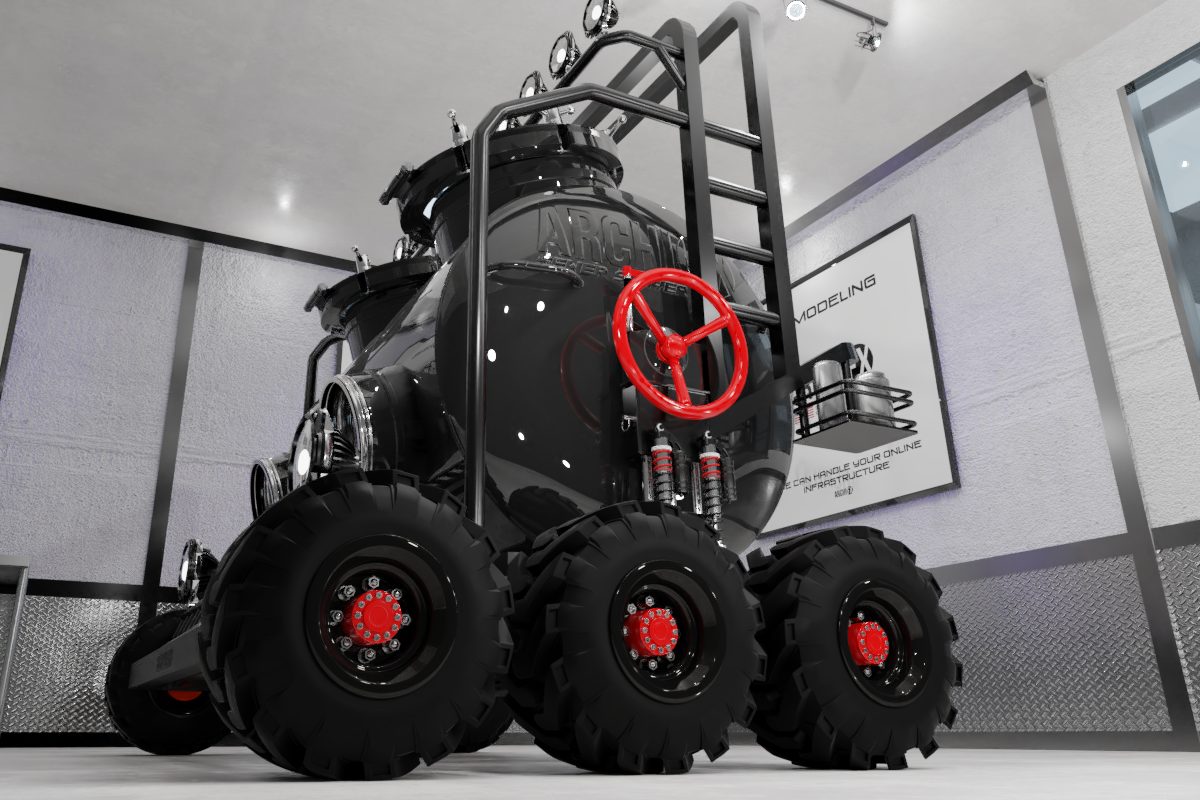
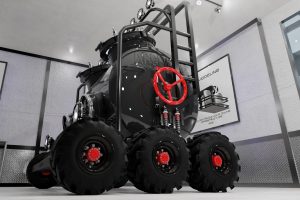
- Inversion Drum: This is a cylindrical drum that houses the liner and facilitates its controlled inversion. The drum is typically mounted on a vehicle or trailer and can be rotated to control the speed and direction of the inversion process.
- Liner Material: The liner is a flexible tube made of HDPE or PVC, selected based on the requirements of the project. It is typically available in large rolls and should be stored in a dry, clean environment to prevent damage or contamination.
- Liquid Medium: A liquid medium, such as water or air, is used to facilitate the inversion process. Water is commonly employed due to its availability and ease of use. Air, on the other hand, may be preferred in situations where a high-pressure environment is required to invert the liner.
- Installation Accessories: Various accessories, such as pulling ropes, winches, and clamps, are used to assist in the installation process. These accessories help control the liner’s movement, prevent wrinkles or folds, and ensure a smooth installation.
Impregnation of Epoxy Resin into the Liner Material
In continuous inversion pipelining, the impregnation of epoxy resin into the liner material is often an integral step to enhance the structural integrity and longevity of the pipeline. The epoxy resin serves as a protective barrier, reinforcing the liner and providing resistance against chemical corrosion, abrasion, and infiltration. The impregnation process typically involves several stages, which may vary depending on the manufacturer’s specifications. Here is an overview of how epoxy resin is commonly impregnated into the liner material:
- Liner Preparation: Before impregnation, the liner material is prepared by cutting it to the desired length and width. It is crucial to ensure that the liner is clean, dry, and free from any contaminants that may affect the resin impregnation process. The liner is typically unrolled onto a clean surface, ready for impregnation.
- Mixing Epoxy Resin: The epoxy resin used for impregnation is typically a two-component system, consisting of a resin and a hardener. The two components must be mixed together in the correct proportions according to the manufacturer’s instructions. This mixing process can be manual or automated, depending on the scale of the project and the equipment available.
- Resin Application: Once the epoxy resin is thoroughly mixed, it is applied to the liner material. Different manufacturers may have specific techniques for resin application, such as spray coating, roller application, or using a brush. The aim is to ensure an even and consistent distribution of resin throughout the liner’s surface.
- Impregnation Process: After the resin is applied, the liner material is typically rolled up or folded to contain the resin within it. The impregnation process can be achieved through various methods, depending on the manufacturer’s equipment and specifications. One common approach involves vacuum-assisted impregnation, where the rolled or folded liner is placed within a vacuum chamber. The vacuum draws out air and facilitates the impregnation of resin into the liner’s fibers, enhancing resin penetration and adhesion.
- Curing: Once the liner material is impregnated with epoxy resin, the curing process begins. Curing is necessary to transform the liquid resin into a solid, durable state. The curing time and temperature may vary depending on the epoxy resin system used, but it is typically achieved through heat application. This can be accomplished by using hot water, steam, or specialized curing ovens.
- Post-Curing Inspection: After the curing process, a thorough inspection of the liner is conducted to ensure proper impregnation and curing. This inspection involves checking for any resin voids, delamination, or defects that may compromise the liner’s performance. If any issues are identified, remedial actions may be taken, such as additional resin application or localized repairs.
The impregnation of epoxy resin into the liner material significantly enhances the liner’s structural integrity and provides long-term protection against various environmental factors. It creates a robust barrier that extends the lifespan of the pipeline and improves its resistance to corrosion and mechanical stress. The impregnated liner, combined with the continuous inversion pipelining method, results in a durable, reliable, and cost-effective solution for underground pipeline installations.
It is important to note that the specific impregnation process may vary among different manufacturers and epoxy resin systems. Therefore, it is essential to adhere to the manufacturer’s guidelines, follow industry best practices, and ensure proper training and certification when performing epoxy resin impregnation in continuous inversion pipelining projects.
Installation Procedure
While the overall installation process of continuous inversion pipelining remains consistent, it is important to note that different manufacturers may have specific procedures tailored to their equipment. The following steps provide a general overview of how continuous inversion pipelining is performed:
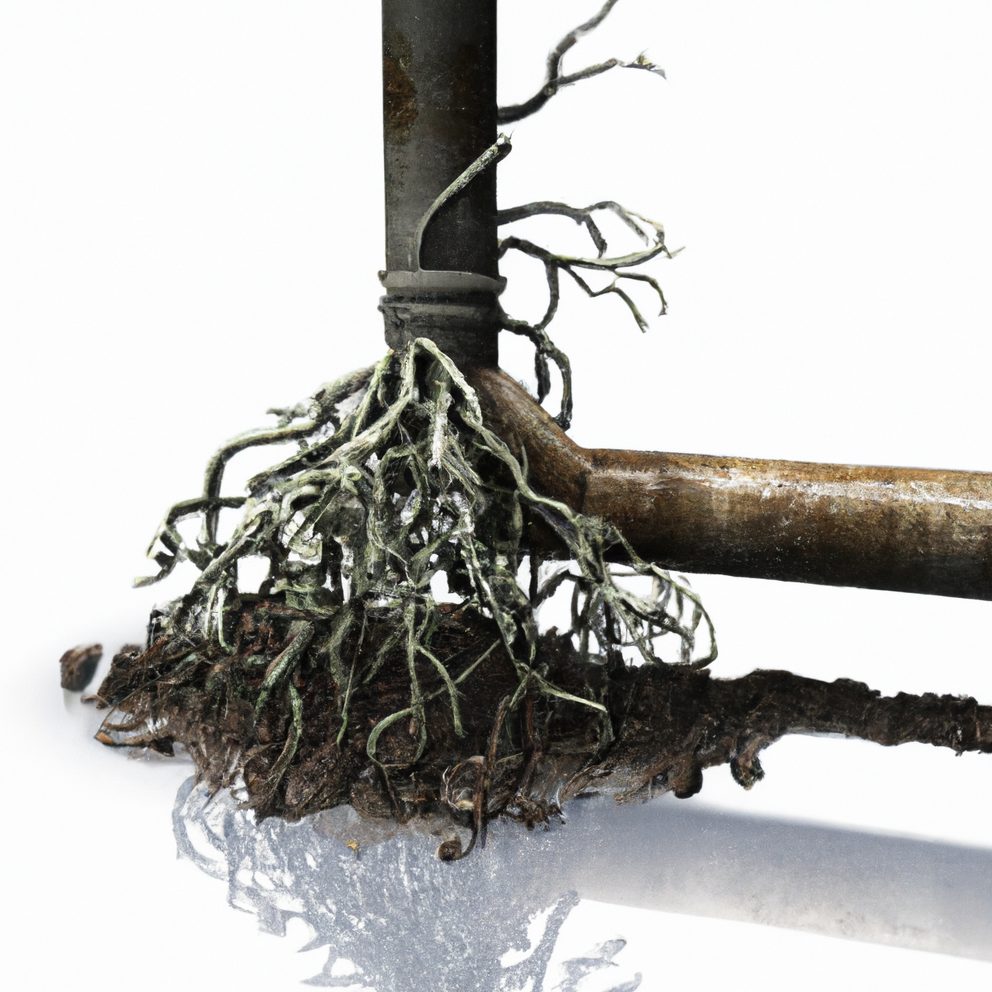
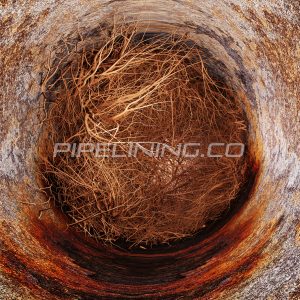
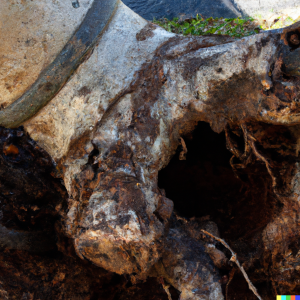
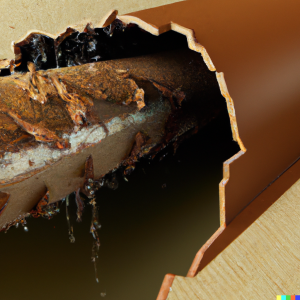
- Host Pipe Preparation: The existing pipe that will receive the liner must be thoroughly inspected and cleaned to ensure a smooth installation. Debris, obstructions, and any damaged sections should be removed or repaired. This step is crucial to ensure the liner’s successful inversion and long-term performance.
- Liner Preparation: (see impregnation of epoxy resin above) The liner material is cut to the appropriate length, allowing for sufficient overlap at the ends. The liner is then connected to the inversion drum, ensuring a secure attachment. Care should be taken to avoid twists or kinks in the liner during this process.
- Inversion Process: The inversion drum is positioned at the starting point of the installation. The liquid medium, whether water or air, is introduced into the drum, creating pressure that gradually turns the liner inside out. As the liner is inverted, it moves through the existing pipe, conforming to its shape.
- Control and Monitoring: During the inversion process, the speed and direction of the drum’s rotation are carefully controlled to maintain optimal installation conditions. Tension on the liner is monitored and adjusted to prevent wrinkles, folds, or other deformations that may affect the liner’s integrity.
- Pulling and Curing: Once the entire length of the liner has been inverted, the liner’s trailing end is pulled and secured at the exit point. Depending on the manufacturer’s specifications, the liner may require curing to attain its final strength and stability. This can be achieved through various methods, such as steam, hot water, or ultraviolet (UV) light.
- Final Inspection: After the liner has cured, a final inspection is conducted to ensure its integrity and alignment within the host pipe. Any necessary repairs or adjustments are made at this stage to guarantee a fully functional and structurally sound pipeline.
Better than dig & replace sewer repair
Continuous inversion pipelining has revolutionized the installation of underground pipelines, offering a highly efficient and cost-effective method. By understanding the principles and procedures involved, pipeline contractors can effectively leverage this technique to streamline their construction projects. While specific installation procedures may vary among manufacturers, the general steps outlined in this article provide a comprehensive overview of how continuous inversion pipelining methods are typically performed. By embracing this innovative approach, the industry can continue to advance towards more efficient and sustainable pipeline installations.
